Jun 15, 2011

Work in Progress...yay, progress!

This is the third "big" quilt that I've basted and I have definitely learned as I've gone along. I didn't like the ripples I kept finding and figured the problem stemmed from the initial smoothing part on the floor.
Even though there are a lot of different methods, this is what worked for me.

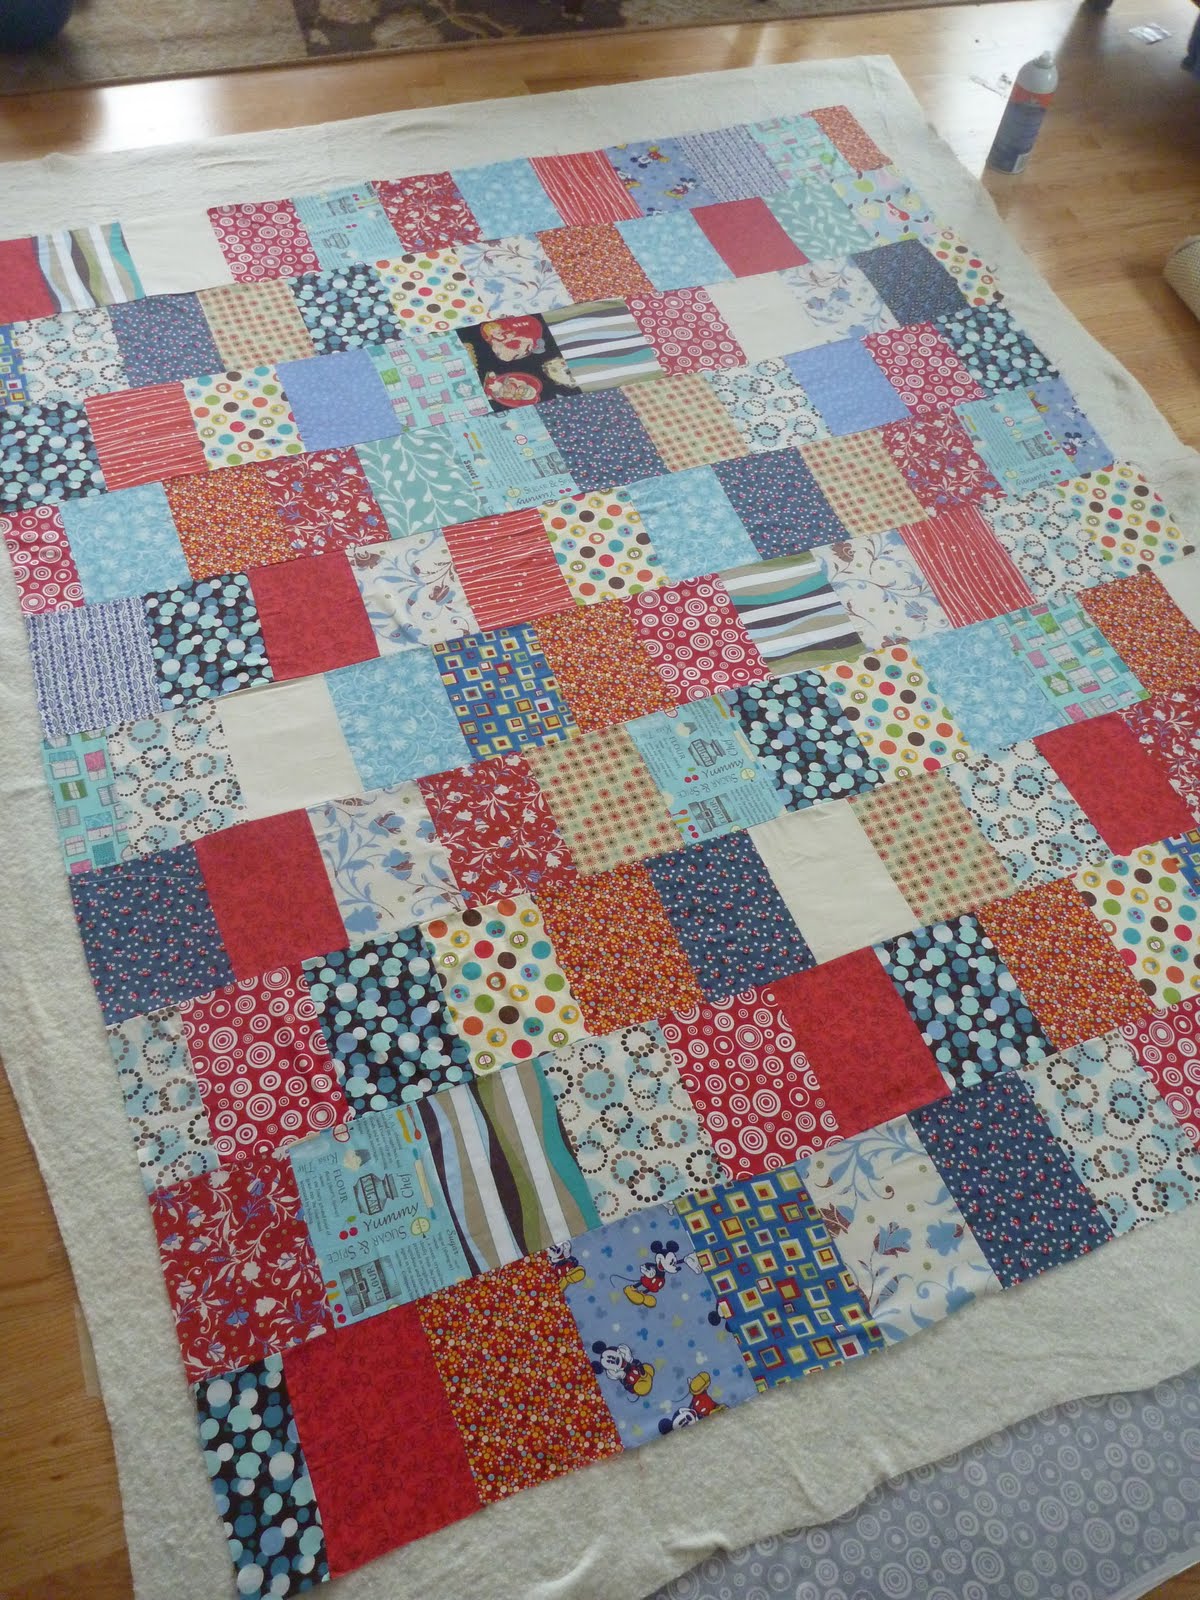
1. Tape the backing fabric to the floor, working left to right. Previously, I'd start at the bottom corner, then do the bottom edge, the side, the top, and lastly the other long side.
I ended up getting ripples and getting very frustrated.
This time, I taped the bottom left corner, then went up. Then I simultaneously did the top and bottom sides, jumping back and forth, smoothing as I taped. Then I did the other long side, readjusting only a little to make it all perfectly flat. 
Ooo, I felt pleased with myself!
2. Next, I sprayed the backing fabric and smoothed the batting as I went top to bottom. I knelt on the batting as I went and that didn't seem to be a problem.
 3. Then, I went UP with the top fabric. I would spray and smooth, spray and smooth. I'd do it about two rows of blocks at a time.
 When I got it all done, I was happy! I don't think it's perfectly perfect, but I think it's close, considering I was using some cheap spray that I had. (Elmer's, yes. It works, but I've never compared it to anything else and I'm sure I'd have better success with something that holds it all a little better.)
 4. I love this part. Cutting away the extra stuff.
I did everything above in maybe a half hour?? I didn't look at the clock too much because it was my daughter's nap time and I had to hurry before picking up my son from pre-school. Anyway, it didn't take too long.
Later on, I did put some pins in the sandwich just because my living space is small and I didn't want a little one pulling too hard at my hard work and messing things up!

Later that night, I started quilting the sandwich! Woo-hoo! After doing my practice quilt, I felt confident enough to start stippling. I didn't begin this, however, until after 10pm (by the time I changed the needle, wound the bobbin, etc.), but it was so much fun. So much more interesting than straight-line stitching. I really like the "imperfect" and "close-enough" aspect of free-motion quilting. I kept at it for about twenty minutes before I was too tired and too worried I was going to stipple my hand.
Want to see my scarily small sewing space??? Usually, for big projects like this, I move my machine to the kitchen table...but like I said, it was after 10. And I was tired...
Anyway, it's progress! And I'm happy to be linking up here today:
WIP Wednesday at Freshly Pieced
PS: And, once again, I got this quilt idea HERE. Thanks Crazy Mom Quilts!

Jun 8, 2011

Work-in-Progress ~ Easy as Pie Quilt

I finally got the itch to make another quilt after reading about this one on Crazy Mom Quilts. I loved the look of hers and how easy it seemed to be. (And so far so good! Just imagine it without the wrinkles...)
 I used a lot of fabrics that I had in my stash, but did make a fabric run for a few more, since I didn't have enough in this color scheme.

Below is what I started with. The first picture shows the fabrics I definitely wanted/had to use.
 These pieces were ones I wasn't too sure about...but ended up using anyway.
I still needed more. So I bought these, which I think 
are really pretty.
 I threw in a couple Mickey Mouse squares for my kids.
 And now that the top is done, I need to get to work basting the quilt sandwich. I am not sure when I'm going to get to it because we have a busy couple weeks ahead of us here, but I'm hoping to do it soon. Trust me, I'll be thinking about it! I actually go to bed thinking about my projects-in-progress.  Like, Will this fabric go well with this one? And I also imagine myself doing things like piecing and basting - like actually going through the motions. Do other people do this too??
I'm happy to be linking up here today!
WIP Wednesday at Freshly Pieced

Jun 7, 2011

Glimpse into Motherhood...Baby Got a Cast

I've enjoyed linking up with Simply Modern Mom's Glimpse Into Motherhood, and thought I'd link up again this week because it's been an oh-so-dare-devilish week.

My little girl broke her arm scaling the stroller and then 
pushing it over. Here she is dressed up for church.
 And now look. Here she is helping to unload the dishes. (Her choice, really!)
Now, in which picture do you think she looks happier? 
And, is this a little odd to you too??
Right. I'm never this happy unloading the dishwasher! I'm glad it made her smile though. 
(Smiles were few and far between for a while...)
Check out the other fun links here:
Project 52: Glimpse Into Motherhood 

Jun 5, 2011

City Livin' Sandbox

This is how we do it living in the city.
We have a tiny patio with plants, as well as a small table and chairs (that hardly seem to get used these days). My son has been really into the sandboxes at the playgrounds lately and I really wanted to give him a sandbox to play in at home. One of those fancy ones from Target would be too big for our small space.
Sooooooo......
 My husband bought some nice sandbox sand from Home Depot, and we filled a Rubbermaid kitchen sink tub with the sand.
 We added the kids' beach toys and voila! Our City Livin' Sandbox!
 My kids love it! Especially my son! He doesn't care one iota that it's a sink tub or that it's tiny. He has had so much fun playing in his sandbox this weekend. What he says to me is, "Can we go into the garden and play in my sandbox?" Awww.
 My daughter digs it too. But, as you might notice, she's not allowed to get too close to the sand. A little bit of extra dare-devil action this past week has put her in a cast with a broken arm.
But as far as she's concerned, it's no big deal. And here they are having lots of fun!