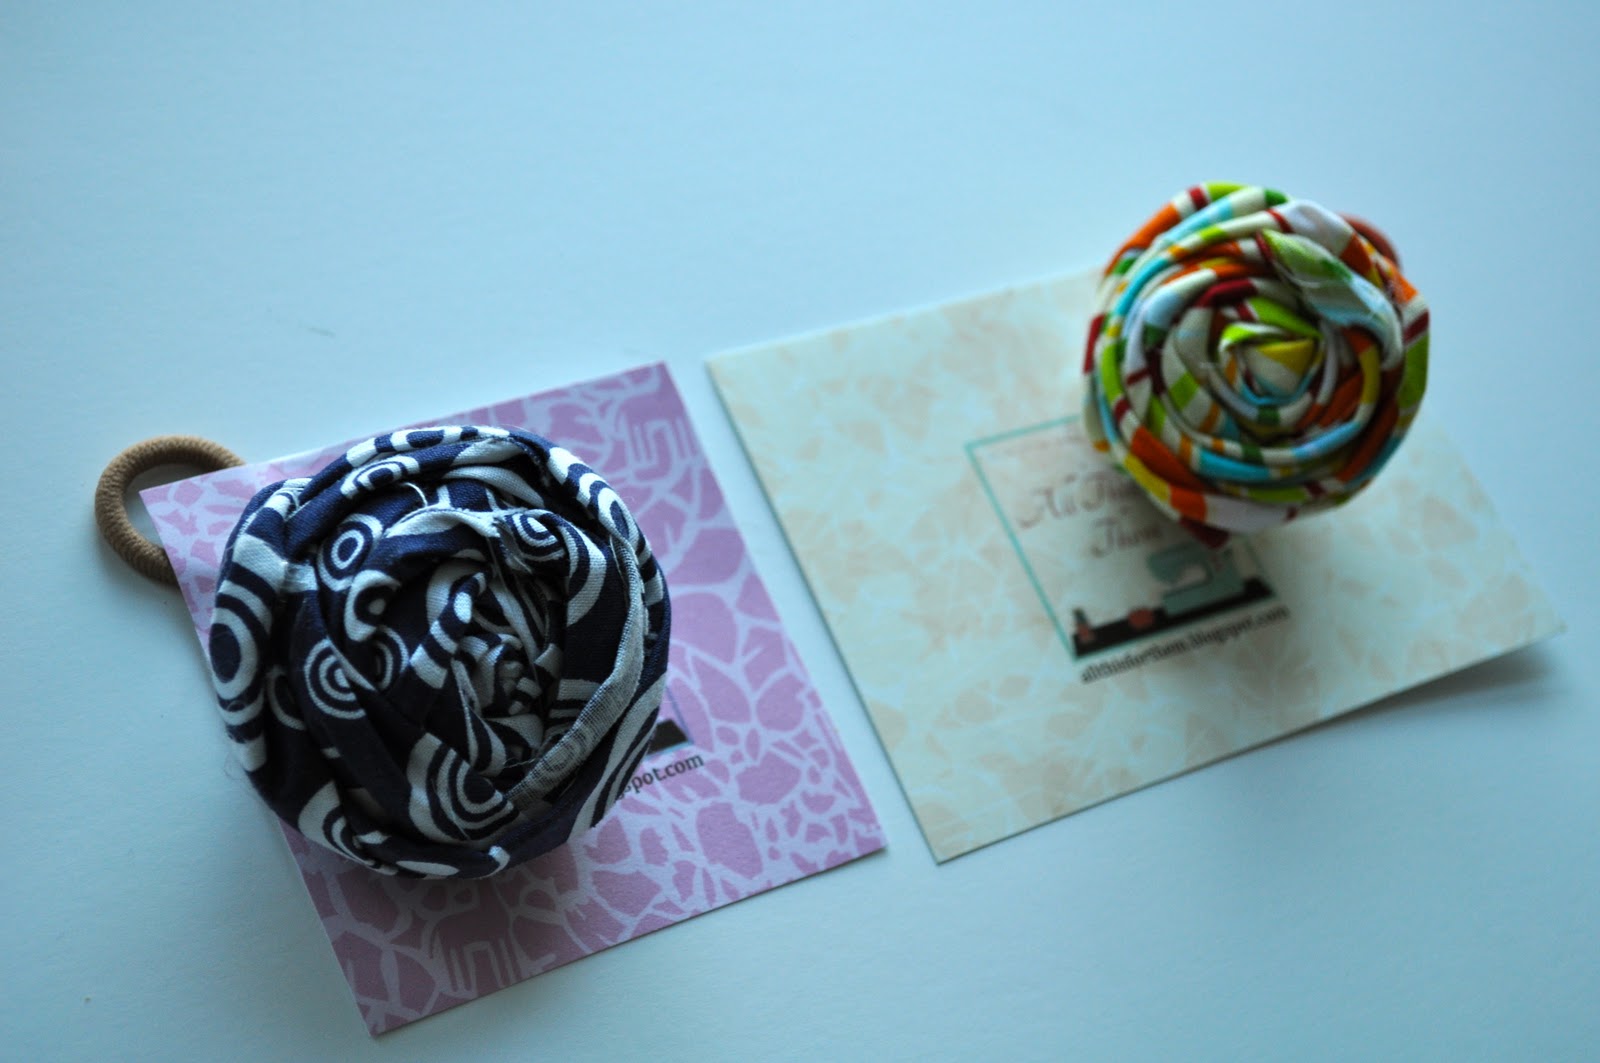
Showing posts with label accessories. Show all posts

Nov 27, 2011

Wearable Fabric Gifts

In recent weeks, I've made a few pieces to give as gifts. When making a gift for someone, I end up thinking about that person throughout every step of the process. You know, not thinking-thinking of them, but they're there, in the back of my mind with every cut, turn of the fabric, or dab of glue. I know by the end the only person who can have this present is the one I intended it for. There is no, I think I'll just keep this for myself. I mean, it crosses my mind, sometimes (I have to admit), but I just can't do it. It just doesn't feel right. Are you with me on this?

This red brooch was for my mom from the very beginning to the last pearl. It wasn't her birthday. But she was coming to visit and I wanted to surprise her with something.
 It's similar to the turquoise pin I made a few weeks ago.

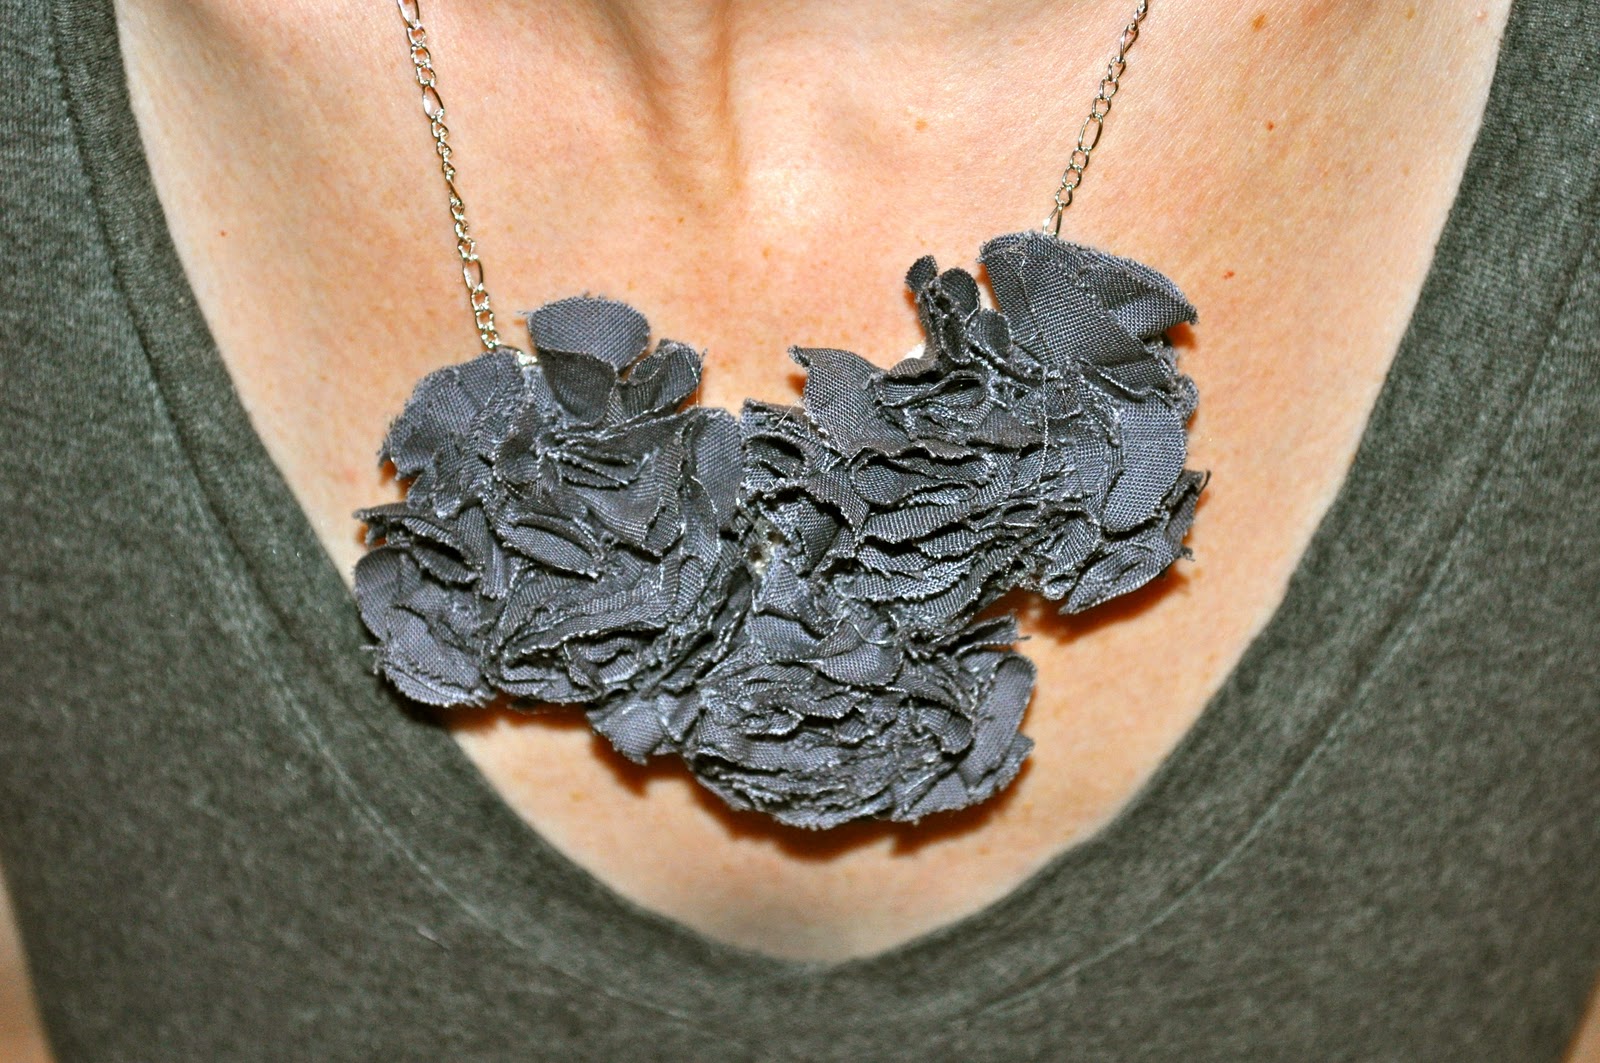
The pom pom necklace below is made of three pom poms, kind of smooshed together. I wish I got a picture of it in action to give it a better representation. It's a little different from my other necklaces, but I like it.
 I gave the necklace and the earrings below to my friend, Heather, for her birthday. Before I wrapped them up, my son came across the necklace on my craft table and said, "Ooooo, this is pretty." And before he could touch it with his sticky (sweet) little hands, I scooped it up, and put it somewhere safe. Then I planted a kiss on his cheek. Compliments from a 4-year-old are so genuine, don't you think? He definitely made me smile.
My friend loved her gifts too. And that, too, made me smile. :)
Linking up here:

Nov 19, 2011

Dragonfly Hair Clip

A dragonfly to adorn your little one's hair!
I enjoyed making this new little hair clip. 
Want to know how?

Supplies:
-a small alligator clip (got mine at Hair Bow Center)
-green ribbon
-pink ribbon
-googlie eyes
-hot glue and/or a glue you like and trust


First, line your clippie. (There are lots of tutorials out there on how to do this. Just do a search.) I chose green because it would blend in with the bug's body.
Next, cut a piece of green ribbon for the body that is 1.5x the size of the clip. Roll one end under for the head and glue down. Trim the other end for the tail. Attach to the clip.
Then make the wings. Two big loops for the big wings. Glue down. Two small loops for the small wings. Glue down. 
Next, roll two tiny pieces of ribbon into circles for the body. Glue down. The cut parts of the ribbons, always go downward.
Attach googlie eyes with tweezers and some strong glue like E-6000.
Add some Fray Check to the tail to prevent fraying.
Finally, stick it in your little one's hair or, like this dragonfly, give it away to someone special.
Enjoy!
Linked up here:

Oct 30, 2011

A Triple Rosette Pin in Turquoise

Lately, I've been busy making jewelry and hair clips for a community fundraising event. 
When I handed everything over to the charity's director (so that she could pass it along to the folks organizing the raffle, silent auction, etc.), she mentioned that she loved the turquoise color of one of the necklaces (seen in this post). She also, very nonchalantly, said something like it would make a good pin and she liked pins. Now this is a woman who has done so much over the years for this particular organization and my family and I have benefited from her hard work. 
So of course I made her a pin. In turquoise. And put it on her desk a week later. I hope she liked it. :)
Linking up here:


Oct 28, 2011

Necklaces, Earrings, and Hair Ties to Donate

 So these were the "mom items" that I donated to the community fundraiser along with the little girl hair clips. I made a new grey necklace (the other one I was planning on keeping, but---long story short---I gave it away on the spot to a sweet grandmothery person who admired it and had just given me a bunch of cute clothes for my daughter through Freecycle.org. Anyway, I had to make another necklace and ended up doing two new gray ones -- one for me and one for the fundraiser. (I haven't photographed the one for myself yet, but it has 5 pom poms that are on the larger side like the poms below!)
 I did two hair ties. (Made a third one for myself and I have to say, they really do dress up a ponytail!).
 And some earrings.
 (These pictures are so dark because I took them in the early morning before packing them up in my bag to head out. Got done too late at night for anything to look half-way good. ;-)


Good-bye new gray necklace! I hope your new owner likes you!
Linking up here today:
Our Creative Spaces

Oct 15, 2011

Pom Pom Bib Necklace ~ So Pretty & Easy to Do

 So this past week I volunteered to make some jewelry for a community fundraiser and decided I needed to get to work figuring out something that looked smart and pretty at the same time. I found this awesome tutorial here for a beautiful pom pom bib necklace and got busy.
 I did my chain differently than the tutorial. I bought 6' of chain, jump loops, and lobster clasps and made my own chain at a length I liked (about 8" of chain on each side). I was very proud of myself for not only locating pliers (!) to cut the chain, but for also assembling the whole thing and making it look rather good! Right after I finished, I wanted to do another one. So I did.
 Not sure yet which necklace(s) I'm donating yet (I'm sort of in love with the gray one and want to keep it), but I know I'm going to be making some more in the next few days to try out some other fabrics and colors. Fun and easy. And aren't they pretty??
Linking up here today: 
 
Our Creative Spaces

Oct 10, 2011

Braided Fabric Fun!

Got some extra strips of fabric lying around? Here's an easy way to use them up and make them into beautiful accessories!

 First, take three long strips of fabric about an inch or so wide. (To get the frayed look, you'll want to rip the scrap off a wider scrap!) Then, knot the three strips at one end. I found a big safety pin useful to secure the knot somewhere before braiding (like on a couch cushion or something that won't move when you're tugging and braiding.
 You can do multiple braided strips at varying lengths to create interest! Tie the necklace tighter (top photo) for one look, or a little looser for something different (second photo).
 Or you can stick with one strip. Use it as a hair band one day...

...and a necklace the next.

 Inspiration for this post was found on Cakies, a beautiful blog with gorgeous pictures and lots of great ideas.
**If you make a braided necklace or hairband, please be sure to link up your pics in my FLICKR Group! Thanks!**
Linking up here:


Oct 3, 2011

Fabric Button Earrings!

Have you seen these fabric button earrings around the crafty blogosphere? They seem to be popping up everywhere, so I decided I needed to learn how to make them. They're so cute!
Basically, there's a fabric button kit you can buy and you just follow the directions on the back of the package. The only tricky part with earrings is that you have to snap off the hook (which is where you would loop the thread if it were to stay a button) with some pliers. Then you have a flat surface to adhere the earring backs.
And before you know it --voila!--you're done! So easy, and these cute earrings make perfect gifts.
Linking up here today:

Oct 2, 2011

Yellow & Gray Rosette Necklace

If you happened to have seen my post a few days ago about my yellow rosettes, you might've known that I had another rosette project in the works. Well, here it is!
 I like the yellow-gray combo and my idea was to have the rosettes worn a little off-center for a slightly more dressed-up look. Here's another view of my first-version of the necklace.
 After wearing it around a little bit, I found that the rosettes did not stay too well where I wanted them on my neck. There were two solutions I could see: 1) tie the ribbon tighter (which I did and thought it worked ok, but not exactly how I wanted it) or 2) add another rosette and beads to see what happened.
 So I added another rosette that would be a little higher on my neck, as well as a few more beads. Here's version two with the extras added on.
 I think this looks so much better! And it sits more comfortably too, being a little off-center which was what I wanted. It instantly dresses up a plain t-shirt! And it was very easy to do. :)
Yay for a new piece of jewelry!

Linking up here today:


Sep 29, 2011

Two Yellow Rosettes

I've been playing around with rosettes some more, having some fun putting them to use in different ways. I made two yellow rosettes the other night while hanging out with my husband and started to see what I could do with them today.

A double-rosette necklace?
 A hair clip?
 A single rosette on a chain?
I have one more idea for these babies, but it involves a little more work, so I'll have to come back and post again when I get it done! What other ideas do YOU have for rosettes? I would love to know!

Linking up here today:

Sep 14, 2011

Pinwheel Hair Clips

What little girl doesn't need more hair clips??
When I found the tutorial for these adorable pinwheel hair clips, I was all over it.
 The Mother Huddle does a great job of explaining all the steps and it was sooo easy to do.
In a nutshell, you cut out fabric squares and stick them on some Steam-a-Seam (double fusible web). First one side, let it cool, then the other. Trim the squares again (my little ones were about 2x2 and the big one was about 4x4). Then make four cuts in each one, twist, and tie down with a button or bead. Glue on some clippies and you're all done!


Want to know where I get some of my supplies? I found a great online supply store called the Hair Bow Center. After looking around, they seemed to have the best prices for clips and ribbons. They also sell some ribbon-lined clips for .43/ea (and the price goes down after buying only 5!). I bought some of those too and that's what I attached to the pinwheels. (I didn't have any patience once the pinwheels were made. I just had to be done!) I've ordered from the Hair Bow Center twice and both times, my supplies were shipped really fast with confirmation and shipping emails sent almost immediately. Just so ya know! :)

 If you make these hairclips, please be sure to link up your pics in my FLICKR Group! Thanks!

Linking up here today: