Nov 28, 2011

The Maxi Skirt

 I did it! Yay! 
I finished my Maxi Skirt and I wore it out this past weekend. I kept waiting for some random person to say, Hey, where'd you get that beautiful skirt? But, alas, no one did. Maybe next time. But it did feel VERY good to be wearing something that I worked so hard on. And it felt right. I mean, it fit exactly the way I wanted it too. (How many times can one say that about anything?)
 I followed the tutorial on Elle Apparel and after my first skirt, this one came together a lot easier. However, I did make a couple changes. First, I made the bottom of the skirt less wide (by about 10", I think).
Secondly, my husband had an opinion. 
Before hemming the bottom of it, I tried on the skirt and my husband said it looked good, but would look better with a slit. We had a short conversation about the height of said slit and whether or not I should do one on each side, and then I got my seam ripper and started taking out the stitches on one side. How's this, hubby? Higher. Well, ok. A few more stitches out and I was done. Done with that part of the business. 
I still had to hem the thing. Including slit.
First I used white thread up and down the slit (didn't take out the thread I had in the machine. And it looked bad. Very bad.). So back to the ripping. I ended up using black thread and stitched two parallel lines all the way around after doing a ziz-zag stitch to keep it from fraying. Voila! It looked much better.
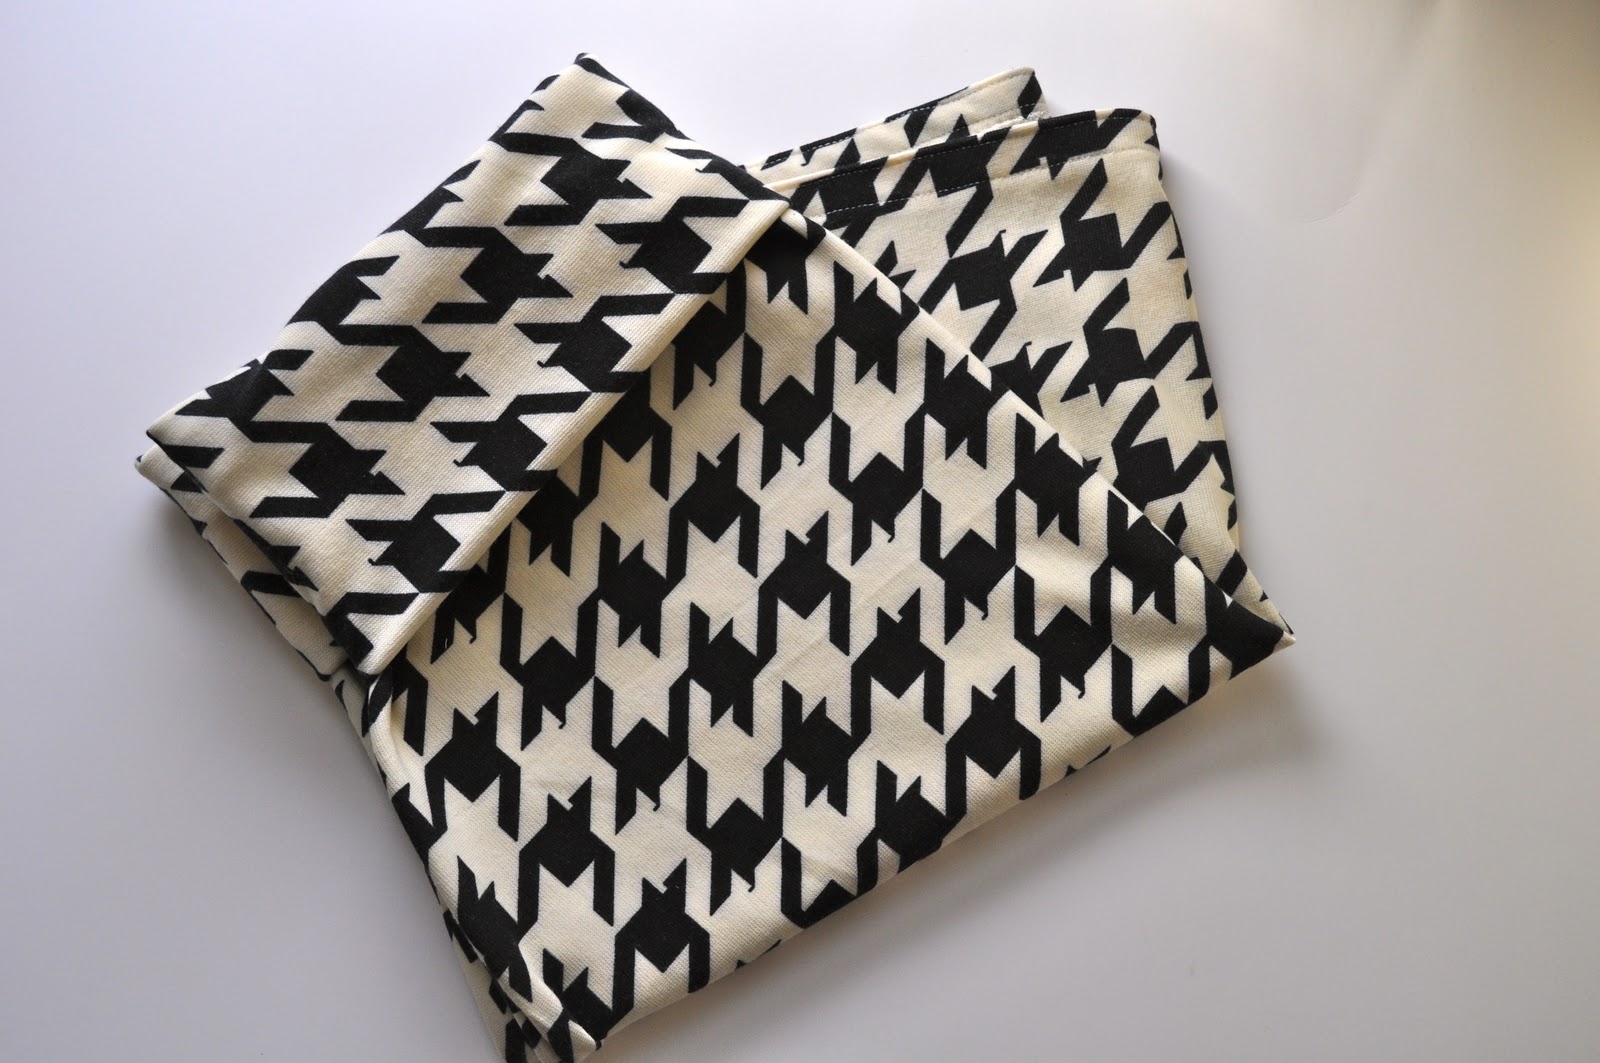
 A note on this fabric. It's VERY stretchy and kind of on the thin side. The wrinkles in the pictures I didn't notice in person. It's also a denim-ish type color. I didn't love it when I bought this fabric, but faced with very few stretchy knit choices at my Joann's, I went with it. And, after transforming the 1.5yds. into a skirt, I think I love it now!
Linking up here:
Sugar Bee Crafts
Today's Creative Blog 
Tea Rose Home 
Mommy By Day Crafter By Night 
Rae Gun Ramblings

Nov 27, 2011

Wearable Fabric Gifts

In recent weeks, I've made a few pieces to give as gifts. When making a gift for someone, I end up thinking about that person throughout every step of the process. You know, not thinking-thinking of them, but they're there, in the back of my mind with every cut, turn of the fabric, or dab of glue. I know by the end the only person who can have this present is the one I intended it for. There is no, I think I'll just keep this for myself. I mean, it crosses my mind, sometimes (I have to admit), but I just can't do it. It just doesn't feel right. Are you with me on this?

This red brooch was for my mom from the very beginning to the last pearl. It wasn't her birthday. But she was coming to visit and I wanted to surprise her with something.
 It's similar to the turquoise pin I made a few weeks ago.

The pom pom necklace below is made of three pom poms, kind of smooshed together. I wish I got a picture of it in action to give it a better representation. It's a little different from my other necklaces, but I like it.
 I gave the necklace and the earrings below to my friend, Heather, for her birthday. Before I wrapped them up, my son came across the necklace on my craft table and said, "Ooooo, this is pretty." And before he could touch it with his sticky (sweet) little hands, I scooped it up, and put it somewhere safe. Then I planted a kiss on his cheek. Compliments from a 4-year-old are so genuine, don't you think? He definitely made me smile.
My friend loved her gifts too. And that, too, made me smile. :)
Linking up here:

Nov 25, 2011

Pigeon Canvas Decor ~ Please?

In our house, we love Mo Willems's Pigeon! He's been a favorite of our since our son was little.
And when Mo Willems came to our city this year, we were front and center (well, not exactly, but close.) 

Mo was very entertaining. 
 
Clearly, I was much more impressed than my daughter...
  Anyway, we like the Pigeon so much around here, that I made a Pigeon T-shirt a couple summers ago and posted about it here.

So when I saw this tutorial, I thought, Cool! I can do that!
Here's my little Pigeon on Canvas.
 Isn't he polite??

Honestly, I loved the tutorial I saw on this, but thought it looked a little more involved than I wanted it to be. I don't have a lot of patience and thought I could just free-hand the pigeon and it'd work out fine. And I think I did.

I started with these materials that I hand on hand. Luckily, I love the robin's egg blue color, and had some in my paint drawer. (Clearly, that color is key.) I mixed some red and white to make a bright pink color. Because I like pink. 
 
I used a brush to paint the canvas pink, and a Q-tip to paint the pigeon. For the beak and white parts, I cut a point on my Q-tips and it worked great! The outlining was done in black crayon.
I added a talking bubble in the end with some cardboard and sticky tack (I may want to change the message some day. Who knows!)
Truly, an easy project. 
The hardest part was waiting for the paint to dry...

Linking up here today: Our Creative Spaces
Funky Polka Dot Giraffe
Tatertots and Jello Weekend Wrap Up

Nov 24, 2011

Mini-Tute: Thanksgiving Handprint Potholder Keepsake


Happy Thanksgiving!
 I love little hand-print turkeys, don't you? And this one, made out of fabric will last and last. I told my husband (who actually made our turkey today), not to use it on anything messy. I kind of imagined it to be pretty much (solely) decor with the occasional (maybe) use. But he said, "Are hot lids OK?" Hmm. Eh. Well. All right. I gave him the green light for lids. "Just be careful!"
 So are you looking for a quick and (relatively) easy Thanksgiving keepsake to make this weekend with your kids? Try this.
Supplies:
- Masking Tape
- Fabric Markers
- Pencil
- Fabric for front, back, and the turkey
- Binding fabric
- Batting (you could use the potholder kind if you plan to use this)

First, tape a rectangle of fabric (mine was roughly 8"x6") on the table and then trace your child's hand on the fabric using pencil.
Then, go over the hand with fabric marker.
Let your child color the hand with fabric markers. (Just make sure he doesn't run off with them!) I encouraged my son to use a different color for each "feather."
Draw the face on the turkey and, as my son suggested, "Give'em a Pilgrim hat!" Will do.
Don't forget to add legs!
Cut out the turkey from the fabric (this was a great way to get rid of the "coloring beyond the lines" that my 4-year-old did big-time on the blue finger).
I appliqued the turkey to some contrasting fabric using Steam-a-Seam2 and some small zig-zag stitches (tension at 0-1 helps achieve this).

For the back, you can use a solid piece of fabric or do some piecing like I did.
Then, I appliqued a patch of white fabric after writing "Thanksgiving 2011" on it.
For the batting, I used actual potholder material that I got a while back at Joann's.
For the binding, I used leftover binding fabric from this quilt and attached it first to the back, then machine stitched the other half down on the hand side.
Lastly, I stitched a little loop on one corner so that I could hang this potholder in the kitchen. 
  After I took these pictures, I wrote my son's name and age in the bottom right-hand corner of the turkey side.

Perfect Thanksgiving decor with a practical twist!
Linking up here: 
Our Creative Spaces
Tatertots and Jello Weekend Wrap-Up

Nov 20, 2011

Easy Houndstooth Skirt

Lately, I've been playing around with knits. I started here, then starting reading this blog, and thought, Maybe I should try clothes?
I made a Lil' Scarf (check out the tutorial) with some great medium-weight, stretchy (but not too stretchy) knit houndstooth fabric (clearance at Joann's!). And then figured I'd try a skirt. I love skirts. They work all year round and usually a good one is hard to find (and too expensive). So making one made sense.
Now I've never made a skirt before. So I needed to start with something simple. Something you could just pull on. 
This is it. 
See my waist band? It's so very easy to do. You just fold the band (mine was about 10" wide) in half width-wise, then sew both selvage ends to the right side of the skirt.
This way, when you fold down the band, the inside looks very neat. You never see the sewn edge that pieced the band and skirt together. (Because it's tucked under the band on the outside of the skirt! Yeah!)
Here's a look at my hem. I don't have a serger, so I just did a zig-zag on the raw edges and then folded them up and sewed two lines across the bottom. (Yes, the lines could've been straighter. Oops.)
And that's it. A skirt that looks good, but didn't take a good deal of time!
Linking up here:
Tatertots & Jello Weekend Wrap-Up Party
Sugar Bee Crafts Take-a-Look Tuesday 
Today's Creative Blog 
 Rae Gun Ramblings

Nov 19, 2011

Dragonfly Hair Clip

A dragonfly to adorn your little one's hair!
I enjoyed making this new little hair clip. 
Want to know how?

Supplies:
-a small alligator clip (got mine at Hair Bow Center)
-green ribbon
-pink ribbon
-googlie eyes
-hot glue and/or a glue you like and trust


First, line your clippie. (There are lots of tutorials out there on how to do this. Just do a search.) I chose green because it would blend in with the bug's body.
Next, cut a piece of green ribbon for the body that is 1.5x the size of the clip. Roll one end under for the head and glue down. Trim the other end for the tail. Attach to the clip.
Then make the wings. Two big loops for the big wings. Glue down. Two small loops for the small wings. Glue down. 
Next, roll two tiny pieces of ribbon into circles for the body. Glue down. The cut parts of the ribbons, always go downward.
Attach googlie eyes with tweezers and some strong glue like E-6000.
Add some Fray Check to the tail to prevent fraying.
Finally, stick it in your little one's hair or, like this dragonfly, give it away to someone special.
Enjoy!
Linked up here:

Nov 13, 2011

Mini-Quilt Link Up


I thought it'd be fun the party at Amy Lou Who's Mini-Quilt Challenge! So here's my embroidered mini that I hung in my daughter's room. Pretty simple, but full of love.
Check out all the amazing little minis here:

Nov 11, 2011

TUTORIAL ~ A Lil' Scarf for You!

Ah, I do love this time of year when scarves start making their appearance again. And they certainly are all over blogland! 
I'm the type of person who needs to wear a scarf as soon as the northern winds start rustling the leaves. But when I pulled out my winter wraps the other day, nothing, especially not my lovely, chunky knit scarf was appropriate. Too much, you know? So, inspired by some fun knit fabric, I made a lil' scarf to do the trick of keeping me warm enough. And stylish too. 
Here it is!
 It's the right amount of wrap with the right amount of style. Perfect for autumn walks and trips about town.
 There are two ways to wear it and both have their advantages. The top way keeps me a little bit warmer, but the second way, below, has a little bit of sass. Which every mama needs now and then.
 Want to make one?? Since I didn't take pictures as I made it, I drew up some stand-in pieces to illustrate the process.
Ready? Let's go.

Cut two pieces of fabric 23" by 4.5". You will use 1/4" seems so the finished product is about 22.5"x4".  In case you're wondering, my pointy part was about 7" in the end, so roughly 1/3 of the cravat. I used a very stretchy and soft knit fabric that I found in the clearance section of Joann's. Imagine! It's so pretty, I should have bought a lot more.
 Next, place the two pieces, right sides together, and sew around the edges leaving about 4" at the end for turning.  When finished, clip corners and trim seams to a scant 1/8".
 Turn the pieces right side out and finger-press the edges flat. Pin them down so they won't shift as you do a topstitch all the way around, catching the opening and sewing it closed at the end. Back stitch a little to lock the stitches.
 Finally, sew a button at the flat end of the cravat about 3.5" from the edge. Then make a button hole at the pointy end, also about 3.5" from the tip.
 Now go outside and flaunt your good work!
If you end up making one of these Lil' Scarves please upload yours to my Flickr group. Thanks! :)

Linking up here:

Our Creative Spaces
Tatertots and Jello
Mommy By Day...Crafter By Night
Sugar Bee Crafts
Tea Rose Home