Showing posts with label earrings. Show all posts

Jan 31, 2012

Bird's Nest Earrings and Necklaces

I really love the beautiful bird's nest necklaces that have been floating around blogland. So I thought I would try making some bird's nest earrings.
I've seen a few dangly bird's nest earrings, but nothing on studs. And when I'm around the kids all day, studs are much more practical. Plus, I had a bunch of posts from previous projects here and here to use!
Of course I did try making the necklace as well.
 See these greenish-blue beads? They were bronze and, feeling daring and desperate, I used some nail polish to make them more of a robin's egg color. Not sure if it really turned out so well! So then I just used pearls again for another necklace. I used two pearls to represent my two kids. I debated a third pearl for daddy, but my son said, "Daddy's not a kid."'Nuff said.
To make the bird's nest, I followed this awesome tutorial here.
Fun. Easy. Just my style.
Linking up with these parties today:


Nov 27, 2011

Wearable Fabric Gifts

In recent weeks, I've made a few pieces to give as gifts. When making a gift for someone, I end up thinking about that person throughout every step of the process. You know, not thinking-thinking of them, but they're there, in the back of my mind with every cut, turn of the fabric, or dab of glue. I know by the end the only person who can have this present is the one I intended it for. There is no, I think I'll just keep this for myself. I mean, it crosses my mind, sometimes (I have to admit), but I just can't do it. It just doesn't feel right. Are you with me on this?

This red brooch was for my mom from the very beginning to the last pearl. It wasn't her birthday. But she was coming to visit and I wanted to surprise her with something.
 It's similar to the turquoise pin I made a few weeks ago.

The pom pom necklace below is made of three pom poms, kind of smooshed together. I wish I got a picture of it in action to give it a better representation. It's a little different from my other necklaces, but I like it.
 I gave the necklace and the earrings below to my friend, Heather, for her birthday. Before I wrapped them up, my son came across the necklace on my craft table and said, "Ooooo, this is pretty." And before he could touch it with his sticky (sweet) little hands, I scooped it up, and put it somewhere safe. Then I planted a kiss on his cheek. Compliments from a 4-year-old are so genuine, don't you think? He definitely made me smile.
My friend loved her gifts too. And that, too, made me smile. :)
Linking up here:

Oct 28, 2011

Necklaces, Earrings, and Hair Ties to Donate

 So these were the "mom items" that I donated to the community fundraiser along with the little girl hair clips. I made a new grey necklace (the other one I was planning on keeping, but---long story short---I gave it away on the spot to a sweet grandmothery person who admired it and had just given me a bunch of cute clothes for my daughter through Freecycle.org. Anyway, I had to make another necklace and ended up doing two new gray ones -- one for me and one for the fundraiser. (I haven't photographed the one for myself yet, but it has 5 pom poms that are on the larger side like the poms below!)
 I did two hair ties. (Made a third one for myself and I have to say, they really do dress up a ponytail!).
 And some earrings.
 (These pictures are so dark because I took them in the early morning before packing them up in my bag to head out. Got done too late at night for anything to look half-way good. ;-)


Good-bye new gray necklace! I hope your new owner likes you!
Linking up here today:
Our Creative Spaces

Oct 21, 2011

Little Rosette Earrings ~ Tutorial

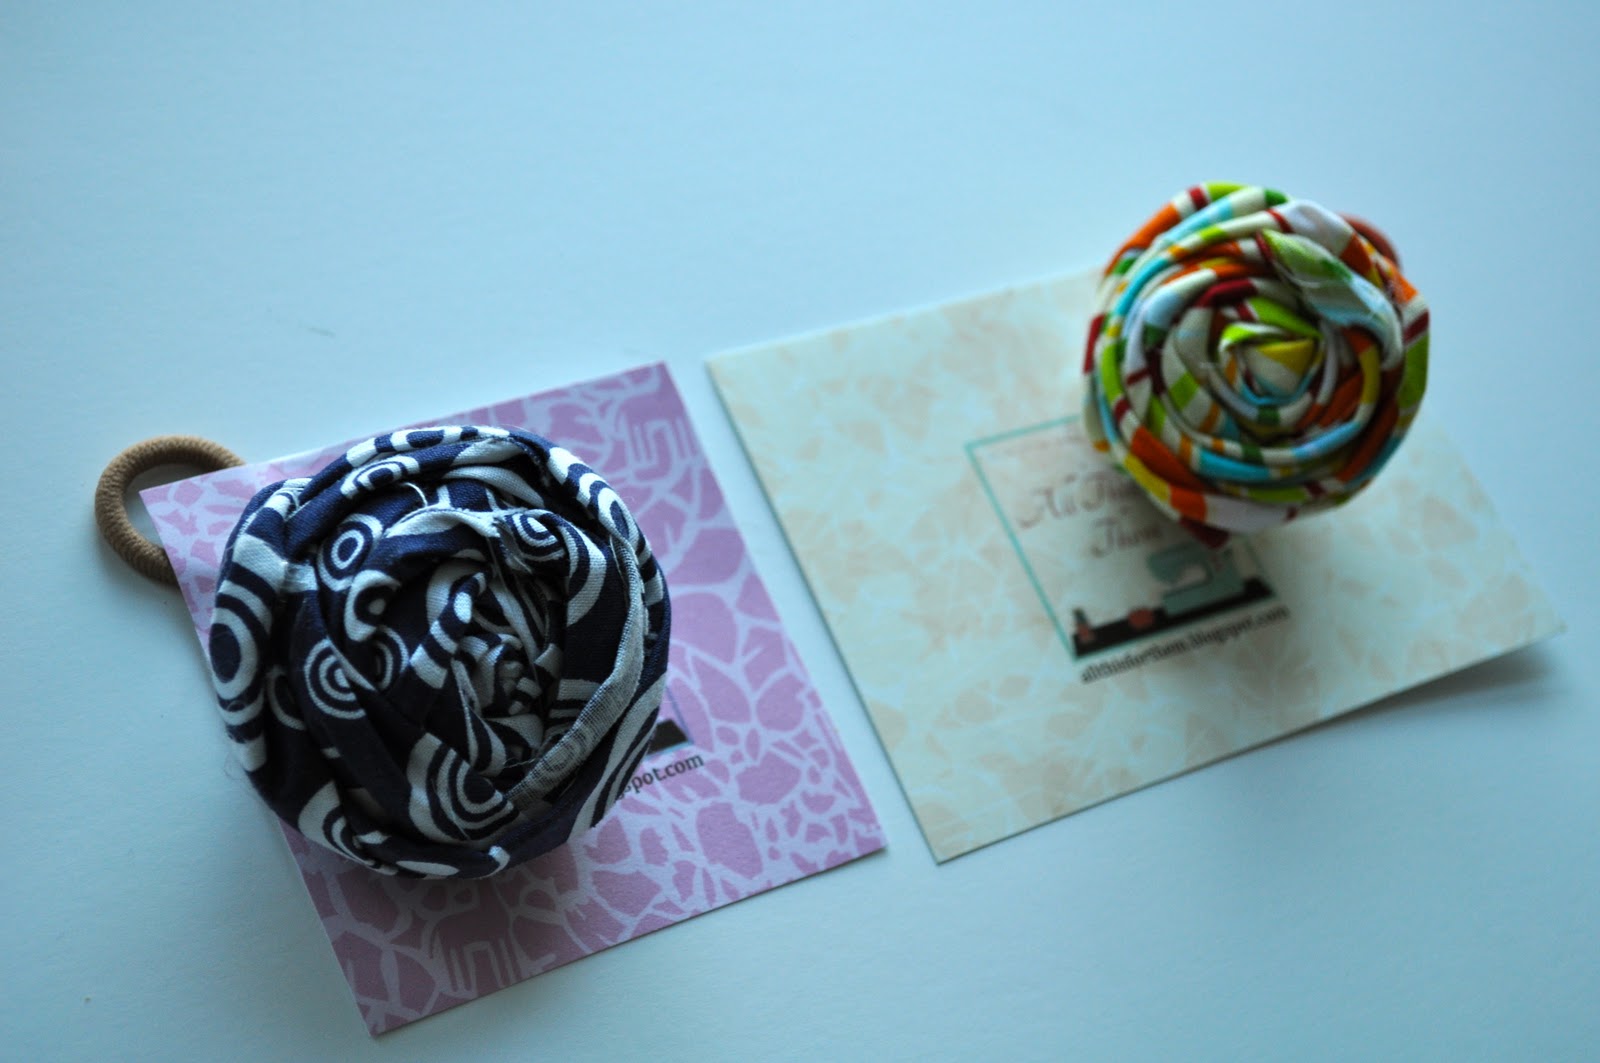
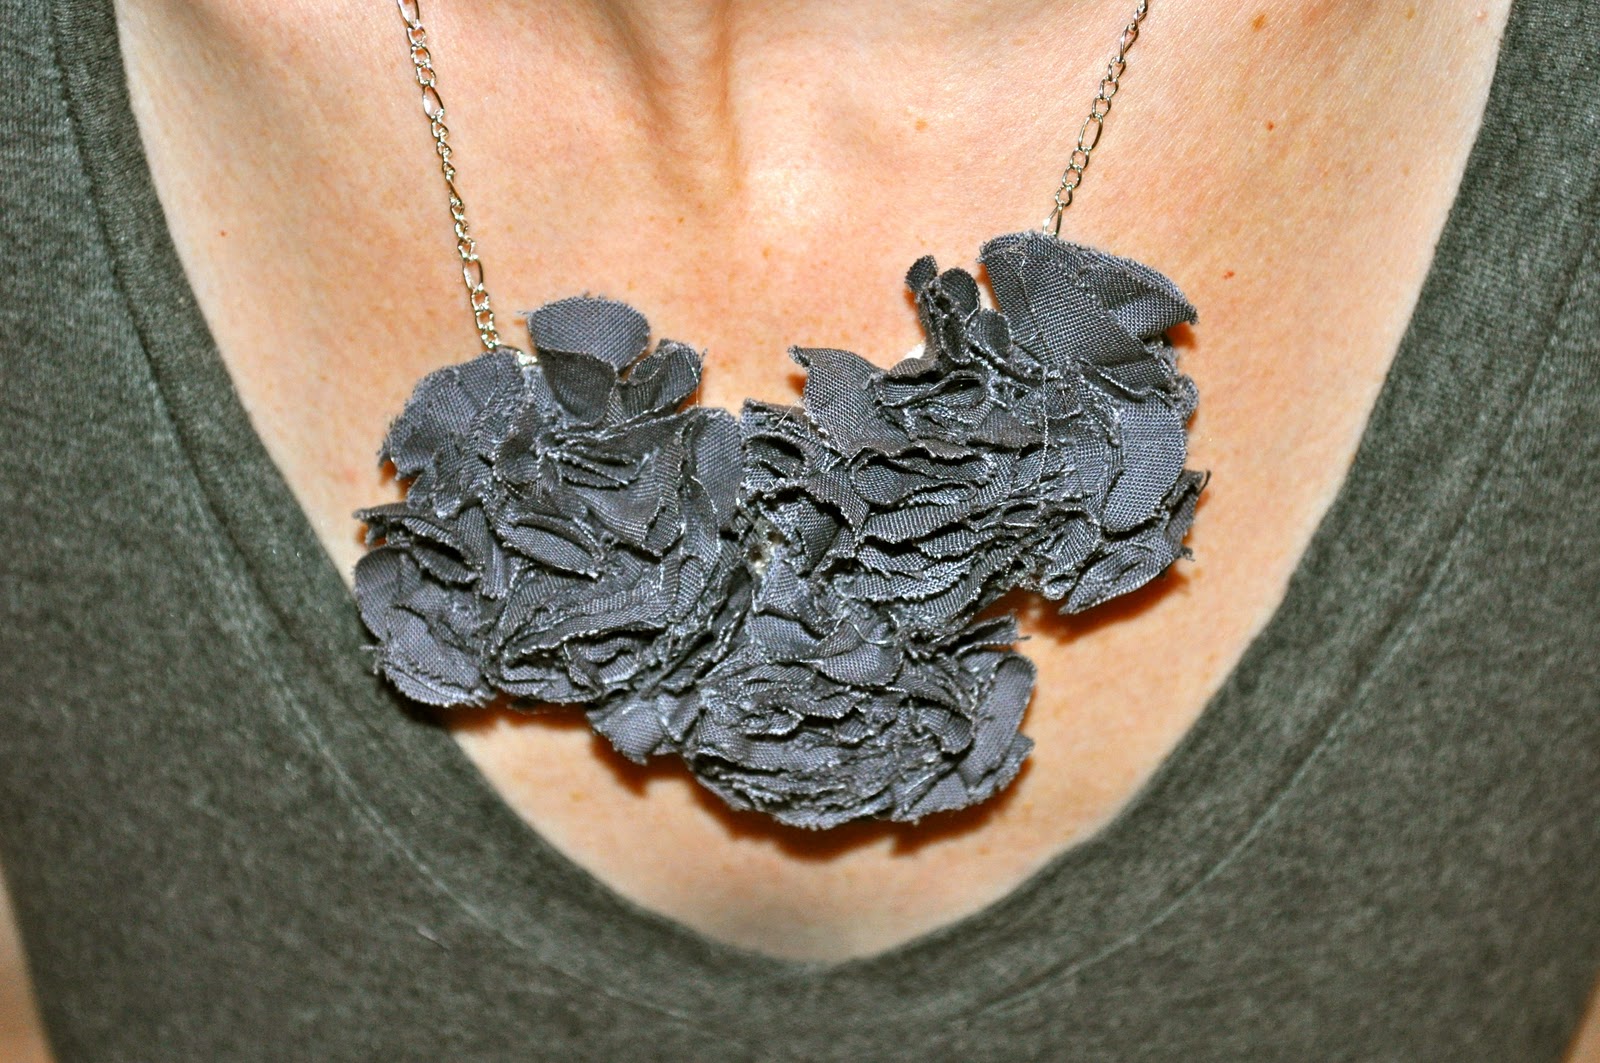
I have been into rosettes lately and thought, if they look good on hair clips and necklaces, why not earrings?
  So here is my little tutorial on making little rosettes for the ears.

If you like bigger-sized earrings, go with 1" strips of fabric and knot them at the top.
 Or if you liked small, daintier earrings, go with .25" strips and knot them (I did both to compare.)
Pinch the knot (with the very end face-down) and wrap a full circle around before starting to turn to make "petals." Make sure the fabric is folded in half (you can glue the fabric in half before starting if it'd make it easier for you. But don't overdue it or the rosette will end up stiff and too thick.) Below is a picture of my first turn. I turn outward--top to bottom--to make a flatter rosette.
 I suggest putting a dab of hot glue on the rosette right before and after every turn. Just a tiny bit.
 Depending on what you like, you can make 2 turns per round, 4 turns, or a continuous set of turns. I did about 4 per round. When your rosette gets big enough, you might find it easier to move your finger and thumb to the top and bottom of the rosette to make it easier to hold, and help keep the rosette flat. See below. (If the rosette gets too thick, it'll dangle off your ear and won't look so good.)
 I used about 9" of fabric, but go with what you like. At the end, do one final turn-down and glue the edge on the bottom of the rosette. Snip off any extra fabric.
 Here are my finished rosettes from the 1"-wide fabric. I added a felt circle to the bottom, but decided not to do that with the .25" fabric because it made the earring thicker than I wanted.
 Here's another shot of the 1"-wide fabric earring.
 Immediately after finishing these, I started the smaller set with my strips of fabric that were .25" wide.
 See how much smaller these earrings turned out?
 I like the littler ones better. I think they're more subtle and less of a "statement." Which is what I prefer. Do you have a preference?
 Easy and fun to do. And who doesn't love saying, "I made them!" when someone gives you a compliment? Enjoy! :)
**If you make one of these projects, please be sure to link up your pics in my FLICKR Group! Thanks!**
Linking up here today:


Oct 3, 2011

Fabric Button Earrings!

Have you seen these fabric button earrings around the crafty blogosphere? They seem to be popping up everywhere, so I decided I needed to learn how to make them. They're so cute!
Basically, there's a fabric button kit you can buy and you just follow the directions on the back of the package. The only tricky part with earrings is that you have to snap off the hook (which is where you would loop the thread if it were to stay a button) with some pliers. Then you have a flat surface to adhere the earring backs.
And before you know it --voila!--you're done! So easy, and these cute earrings make perfect gifts.
Linking up here today: