Showing posts with label hair clips. Show all posts

Mar 28, 2012

Another Easter Hair Clip and a Pin

I was up late last night thinking it'd be fun to surprise my kids with a little gift this morning at breakfast. I'm afraid these might look extremely homemade (nodding, why yes they do), but if you look at them from a distance, and maybe squint a little, they look terribly good. Oh, but the kids really liked them, and that's what matters most.
 A peeps-inspired hair clip for my daughter.
 And a basket filled with peeps for my son. No, not a hair clip, but a pin. He was excited to wear it to pre-school this morning. Apparently, his teacher made him get up and talk about it during circle (oops). When I asked my son what he said about it, all I got was, "I don't know" and a little embarrassed shiftiness. (Sorry, kid.)


 Super chilly this morning, but I liked seeing the peeps peaking out of her hood. Hi there!
Linking up with Tea Rose Home today. More of my Easter hair clips here.

Easter Hair Clips

I got started on some Easter hair clips the other night and here are the results.

Got this adorable bunny idea here (lots more cute ones there too.)

And the duck idea here (and more cute ones here as well).

The tulip and the egg are my own ideas. Not sure if I'm lovin' the egg so much.

Anyway, these were all going to someone else, but when my daughter saw the bunny, she got so excited. I stuck it in her hair and snapped a picture. I know I will have to make one for her next.
Linking up here: Tea Rose Home
Our Creative Spaces

Nov 19, 2011

Dragonfly Hair Clip

A dragonfly to adorn your little one's hair!
I enjoyed making this new little hair clip. 
Want to know how?

Supplies:
-a small alligator clip (got mine at Hair Bow Center)
-green ribbon
-pink ribbon
-googlie eyes
-hot glue and/or a glue you like and trust


First, line your clippie. (There are lots of tutorials out there on how to do this. Just do a search.) I chose green because it would blend in with the bug's body.
Next, cut a piece of green ribbon for the body that is 1.5x the size of the clip. Roll one end under for the head and glue down. Trim the other end for the tail. Attach to the clip.
Then make the wings. Two big loops for the big wings. Glue down. Two small loops for the small wings. Glue down. 
Next, roll two tiny pieces of ribbon into circles for the body. Glue down. The cut parts of the ribbons, always go downward.
Attach googlie eyes with tweezers and some strong glue like E-6000.
Add some Fray Check to the tail to prevent fraying.
Finally, stick it in your little one's hair or, like this dragonfly, give it away to someone special.
Enjoy!
Linked up here:

Oct 28, 2011

Hair Clippies for Charity ~ What I Gave


I did a bunch of hair clips last week for a charity fundraiser in my community. It was fun experimenting in different ways with ribbon and it felt good to give some of my time (and craftiness) to a good cause! 


I really liked doing the duckie and the firefly -- but they look a little more sticky and lumpy in their photo than in person - darn!

You might recognize my pinwheel below. I did some before on an earlier post.
I really like how this little pink rosette looks on a clippie. Very classy, I think. Not so sure about the one next to it...
And this last one I just made the other day for my daughter. Can you tell what it is?? 
A pumpkin, of course! :)
Linking up here today:


Sep 14, 2011

Pinwheel Hair Clips

What little girl doesn't need more hair clips??
When I found the tutorial for these adorable pinwheel hair clips, I was all over it.
 The Mother Huddle does a great job of explaining all the steps and it was sooo easy to do.
In a nutshell, you cut out fabric squares and stick them on some Steam-a-Seam (double fusible web). First one side, let it cool, then the other. Trim the squares again (my little ones were about 2x2 and the big one was about 4x4). Then make four cuts in each one, twist, and tie down with a button or bead. Glue on some clippies and you're all done!


Want to know where I get some of my supplies? I found a great online supply store called the Hair Bow Center. After looking around, they seemed to have the best prices for clips and ribbons. They also sell some ribbon-lined clips for .43/ea (and the price goes down after buying only 5!). I bought some of those too and that's what I attached to the pinwheels. (I didn't have any patience once the pinwheels were made. I just had to be done!) I've ordered from the Hair Bow Center twice and both times, my supplies were shipped really fast with confirmation and shipping emails sent almost immediately. Just so ya know! :)

 If you make these hairclips, please be sure to link up your pics in my FLICKR Group! Thanks!

Linking up here today:

Feb 7, 2011

Ah -The Much Anticipated

Right.
So here is the fruit of nap time.
I pulled apart the flowers above, took out the stems, and glued the layers back together. Then I glued on some gems and put them on some alligator clips that I lined with ribbon.
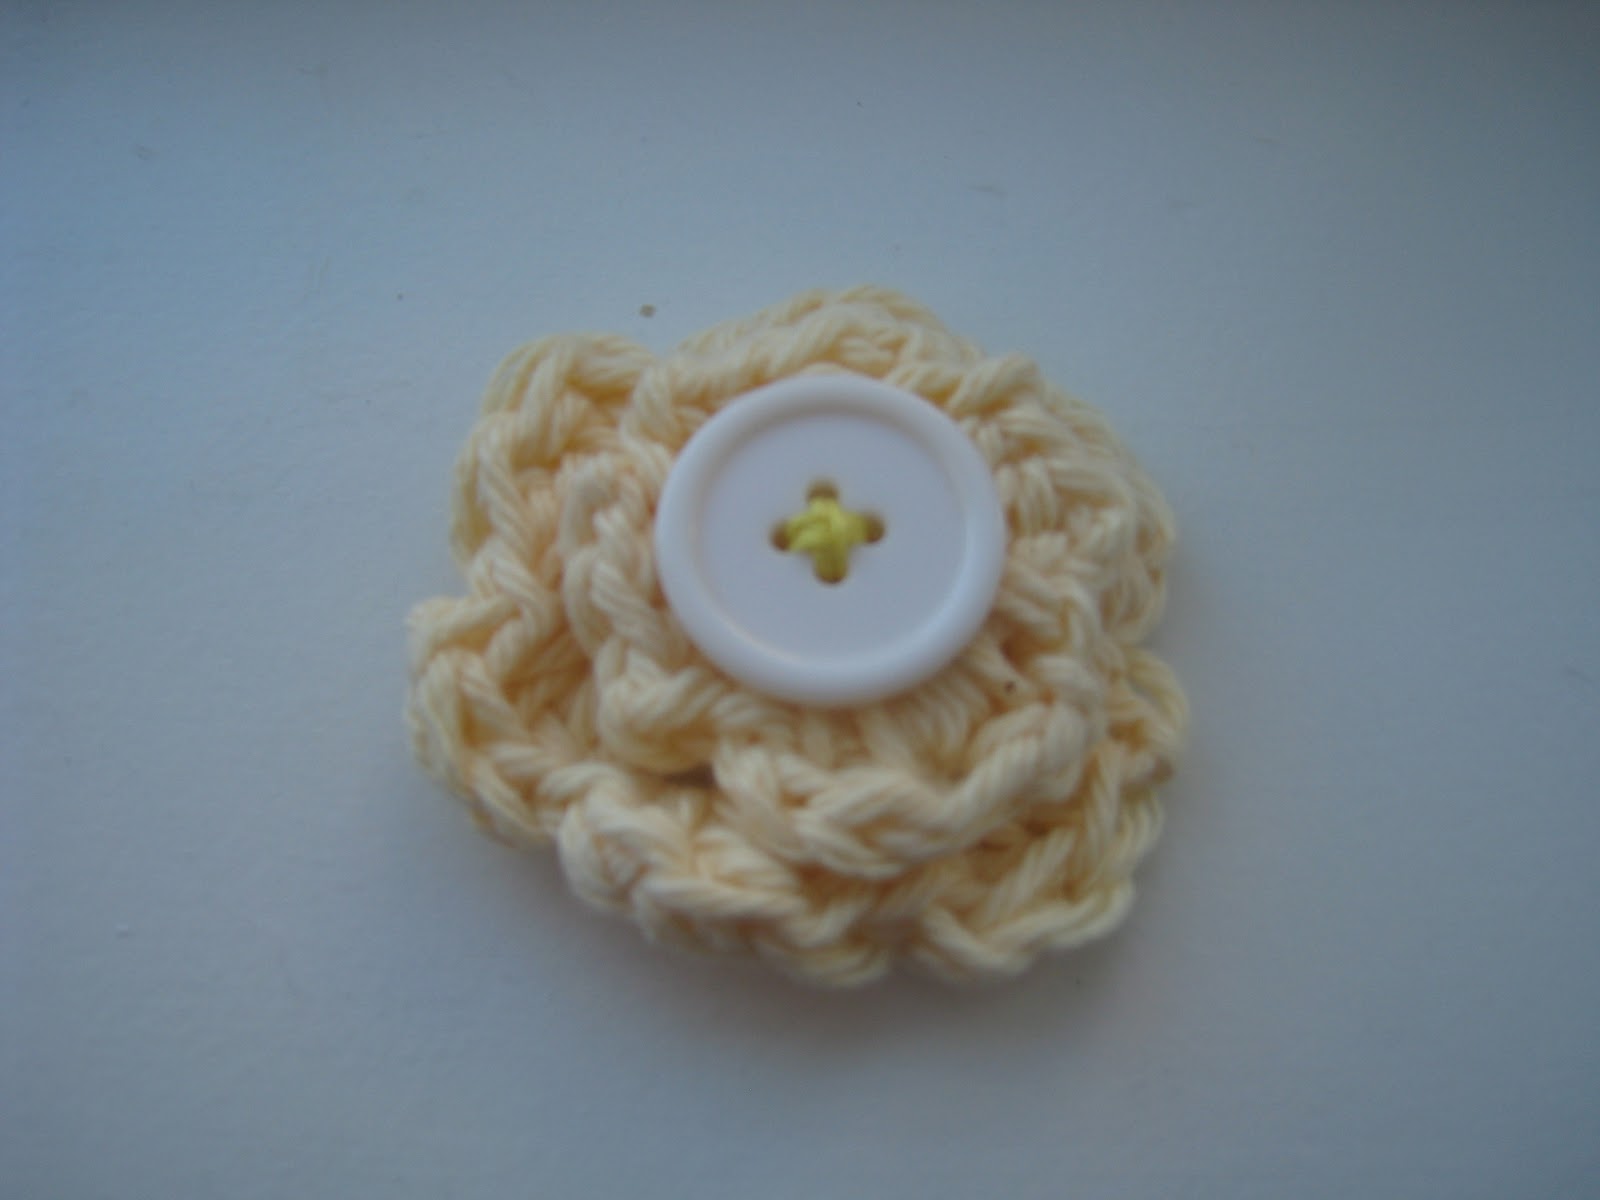
 The yellow crochet flower above is so sweet! My mom crocheted the two flowers and I sewed them together, along with the button. I may put this on a hair clip or maybe make it into a button. Or maybe put it elsewhere, like on a pillow???
I love these appliques. Can you guess which ones I bought and which I did myself?!? Oh, but I very skillfully glued them all to my homemade ribbon-lined alligator clips.
 These are simple and pretty. Yes, we're Wildcat fans here.
 Again, the heart that is so clearly homemade. And the purchased applique (available on Etsy).
 Some of the first hair clips -- I made them around Christmas time. These were all done by yours truly (except for the wooden dude on the end, which of course, I did not cut or paint, but purchased).

And there you have it. Another way to widdle away nap time!

Feb 5, 2011

Hair Clip Holder

And this is the much-needed hair clip holder, necessary to hold the multitude of hair clips that were waiting around the house for a place to live. 
 
 Don't look too closely (this should really be a disclaimer on this blog) because I did this holder on the fly while both kids were in their rooms making lots of noise (daughter - crying, son - playing), and so I was distracted and didn't do the best job sewing (or cutting the square for that matter). Anyway, it's not like I'm going to sell it. It's hanging in the bathroom at a height that is only accessible to the over five-feet-tall category. So basically, it's not my daughter's hair clip holder. It's mine. Yes, my fairy hair-clip holder.
Ooooo. Should I be worried?

Oodles and Oodles of Hair Clips

I've gone a little clippie crazy. Here's just a sampling of what I've been doing in my precious minutes of free time.
Yes, I'm having loads of fun with my hot glue gun and creating more hair clips than my daughter will ever need (or tolerate).
 I have also done some with big floppy flowers and little cute felt "critters" as, I believe, my mom called them. So I'll try to take pictures of those this weekend. I'm sure the suspense is killing you.

 Oh, and here's my son modeling ALL of these hairclips. (His choice, I swear.) He has had more fun than you could imagine with these hair clips. When he's not wearing them (which, by the way, he only did for the picture), he treats them like Matchbox cars, driving them around the floors. It's really quite funny.

Jan 10, 2011

The Wonderful World of Hair Clippies

Lately, I've been into hair clippies. I bought some on Etsy and then decided I should try to make my own.
 
 I have a newfound appreciation for some of the artists who design fabulous clippies on Etsy, like Robin at Robin's Craft Tree. Her work is soooo good. She's so detailed and I WISH I could make clips like hers. Maybe with a little more practice... Until then, I probably will keep visiting her store.
The clips above were fun to do and I was happy to give them to friends!