Showing posts with label bag. Show all posts

Apr 3, 2011

Game Bag Tutorial

Thank you, Ann, for featuring this tutorial on A Girl in Paradise last Thursday!

A Girl In Paradise

Who doesn't need another bag? Especially one that could store lots of small pieces?
I happened to have made this game bag out of necessity - the box fell apart! And now I have a great little bag to keep all the pieces for this game in one spot. It was quick and easy. And I think it looks just right.
Let me walk you through the steps in case you want to give this easy-peasy bag a try.
 Gather your supplies. This is what you need (the picture below does not cover everything):
1. Your game
2. Some sturdy fabric (I used this great Lotta Jansdotter linen - thanks Alison!)
3. Plastic for the window
4. Cotton webbing for handle
5. Rotary Cutter or Scissors (I ended up preferring my scissors)
6. Snaps
7. Button(s)
First, cut one long rectangular strip of fabric that will be wide enough and long enough to fold up at the bottom to be your bag. (Mine was 12" wide and about 48" long.)

Second, cut a square hole on the fabric where you'd like the window to be. I suggest using a pencil and ruler to center your window.
Below is how it should look. (My window was about 4x4".)
 Next, snip a little bit into each corner so that you can fold back the fabric about a half inch on the inside.
 Flip the fabric over and finger-press the sides open (you could also iron the edges flat).
 Then, cut a square of plastic that is bigger than the hole you cut out of fabric (mine was about 6"x6"). Pin the plastic over the wrong side of the hole, catching the flaps with your pins. Then move to your sewing machine. FIRST, sew a line around the hole that is about 3/8" in from the edge, catching the flaps (this is the outer line). You should be able to remove most (if not all of) the pins after this step.
Then, flip over the fabric and sew another box around the window inside the previous box (this is the inner line). See below.
Next, turn the bag inside out with the wrong side together. Sew the sides of the bag.  When you're done, this is how it should look. (I did an extra zig-zag stitch on my sides to make the bag sturdier.)
Fold down the bag to the desired length (I ended up cutting a few inches off the top before folding). You should fold once, then a second time to hide the raw edges. Press the fold.
Stitch the flap on the inside of the bag, about 1/4" from the bottom fold (see below).
Turn the bag right side out and stitch about 1/4" from the top.
Voila! You are almost done!
To add snaps, I bought a nifty little gadget that helps secure the snaps in place and allows me to pound really hard on the snaps to secure them. (Pound REALLY hard to make them stay!)
All right! Looking good!
Next, cut a piece of webbing to the length desired for a handle.
Sew a few times back and forth to secure the handle on both ends.

Finish by sewing a pretty button to the outside to hide any fraying from the webbing. I also sewed a button to the inside for the same reason.

While my son napped, my daughter played with his game and new game bag. Shhhh! Don't tell!
If you make this bag, please be sure to link up your pics in my FLICKR Group! Thanks!

Mar 31, 2011

Game Bag Tutorial

Want to know how to make this cute game bag with the window? 
Head over to A Girl in Paradise where I'm guest blogging today!

Mar 14, 2011

Pretty Place to Store Stuff!

I was inspired to make this bag after seeing Lee's pretty pair on Freshly Pieced. She found the pattern here at Pink Penguin and that's what I used (with some minor changes).
I like it and might try to make another one with some different fabric. (I'm not so sure I like the corduroy on the bottom of this one, but it sure does make it sturdy!).

But I do like the inside. Fabric leftovers from the quilt. :)
I'm linking up with Canoe Ridge Creations today for Sew Modern Monday!
{Sew} Modern Monday at Canoe Ridge Creations

Feb 23, 2011

Charm Pack Quilted Bag!

Oh, I am so proud of this bag! I have to say, it is one of the sewn projects I've made that I'm most proud. It's success is due to a) an awesome tutorial at Camp Follower Bags and b) pressing my seams at each step. Really, I never knew.

So here it is. My Charm Pack Quilted Bag!
I found this charm pack and all the supplies at my local Joann's. But the crochet flowers are special. My mom made those (she's actually relatively new to crocheting and I think she did a fabulous job). She gave these to me a few weeks ago and the colors just happen to match this bag perfectly.

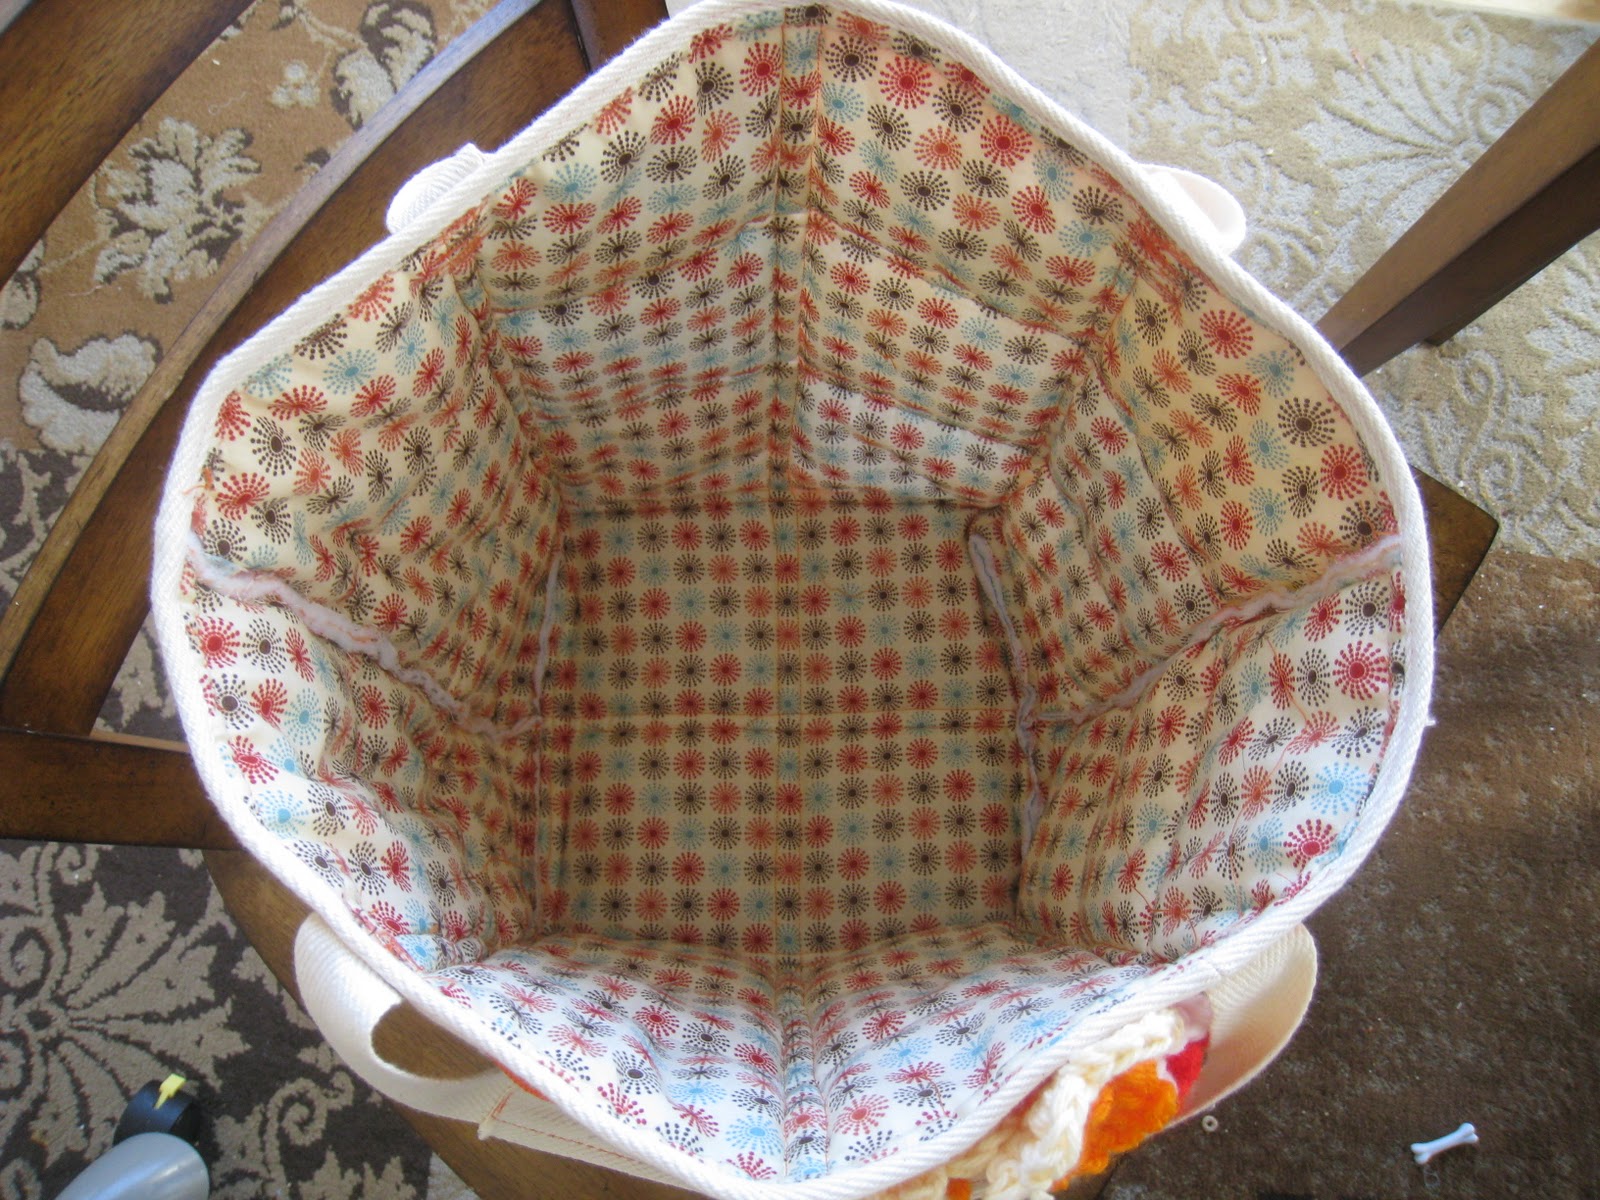
Here's the inside. I really like this fabric too.
The twill handles and binding really pull the bag together. I've never used twill before, but I really liked working with it.

I meant to take some more in-progress pics, but these were all I got. You can see that I used high-loft batting on the inside. I think it worked perfectly (even though it was super cheap) because it helps the bag keep its shape.

And now I just have to figure out how I'll use this bag. For blankets? Maybe for my kids' toys? But right now, I'm happy just admiring it. It feels good to finally make something that looks good (and not stare at it and analyze all my mistakes)!

I'm linking up this bag with Tea Rose Home's Link Party. There are lots of great projects already listed on this blog and it's fun to get ideas from other participants. Check it out!

Sep 15, 2010

A Bag to Carry Their Stuff (and mine)

I recently purchased some denim/cotton fabric from the remnant bin at Joann's and decided to make this bag I sew in Jenny Ryan's Sew Darn Cute. I really like how it came out!


It was my first time using:

-a magnetic snap
-cotton webbing for the handle (btw, the book's pattern calls for two, shorter handles, but I wanted one like this to have my hands free)
-a reinforced strip around the top for the handles
-an inside zippered pocket

I did some patchwork on the front, using vintage bedsheets from my mom (also used the sheets to make a dress for my daughter and a sewing machine cozy for myself). And the lace was left over from my daughter's baptismal dress.

I love my little bag, but I'm finding it a tad too small for my (our) needs. I think I might have to look for a pattern for another bag. (Which I think is half the fun!)

Sep 2, 2010

My Son's New Bag for Cards

These playing cards were just everywhere and I wanted something to contain them. Something cute, of course. So my son picked out this Curious George/Firetruck fabric from the stash, and I stitched up some scraps to make this bag. For fun, I added a Velcro closure, train patch, and loop for hanging on a hook!

Aug 30, 2010

Two Snazzy Coin Purses


Some fun with zippers and ladybug fabric.

Aug 20, 2010

Sweet Bag for...me!

I made this bag last summer and cannot remember right now where I found the pattern. But it was rather easy to follow and I really had a good time making my first "complicated" bag (meaning, several pieces of fabric and learning a few things as I went - like how to do that nifty braided handle!).

The top picture is without the hanging things (obviously), but I felt the bag looked too big when I put it on my arm.
So I continued on with the pattern and made these hanging things and sewed them on.

I'm not in love with the hanging things...but it decreases the bag's size so it feels less cumbersome.

Still, I have to admit...in the year since I've made this bag, I've probably only used it a handful of times. I don't know...I think maybe the colors are too bold for me. Anyway, I had fun making it and maybe it'll work it's way down from my closet shelf again sometime.

Jun 3, 2010

Nifty Little Bags

These are currently storage bags by the 
front door. 
For a while, I was on a bag kick and these are two examples of small-ish bags I made. The white and red one is fondly called "The Bug Bag" in our house and it stores my kids' sunscreens and sunglasses and a floppy beach hat that I can fold and tuck inside. The bag is hung right by the door so I can grab these essentials before we head out.

The other bag was a little more complicated to make because it has a lining. In it, I keep my sunglasses, my husband's sunglasses, our adult sunscreen and outgoing mail. It hangs above the Bug Bag right by our front door.

I learned a lot by making these two bags and it's neat to see that some things I made can be very useful around our house. They help me stay organized and who couldn't use a little organization, right?