Showing posts with label jewelry. Show all posts

Feb 24, 2012

My Creative Space...Organizing Earrings

There are so many cute ways to organize dangly earrings, but what about ones with backs? I couldn't find anything I liked on Pinterest, so I came up with my own solution.
 It's an old craft storage box. I don't even know what its intended use is for -- bobbins? Thread? I think that's what my mom used it for, but she gave it to me years ago and it has sat unused in a drawer until now.
 All I did was pop off the lid, cut a pretty piece of scrapbook paper to size, and Modge Podge it to the back. Then I used some 3M Velcro thingies to attach it to the wall. You see, I am a little lazy when it comes to things like .... putting stuff away. I'm always misplacing an earring here or there because I left them on my dresser and one got knocked on the floor or something ridiculous like that. Now they all have a place. And I can see them easily because they are matched up on their little shelves. No searching in a dish, no wasting time! Yay!
The picture below turned out kinda funky when I was uploading it...but I kind of like it.

Ok, that's probably enough pictures of my earrings. Linking up with Our Creative Spaces and Tatertots and Jello today!

Jan 31, 2012

Bird's Nest Earrings and Necklaces

I really love the beautiful bird's nest necklaces that have been floating around blogland. So I thought I would try making some bird's nest earrings.
I've seen a few dangly bird's nest earrings, but nothing on studs. And when I'm around the kids all day, studs are much more practical. Plus, I had a bunch of posts from previous projects here and here to use!
Of course I did try making the necklace as well.
 See these greenish-blue beads? They were bronze and, feeling daring and desperate, I used some nail polish to make them more of a robin's egg color. Not sure if it really turned out so well! So then I just used pearls again for another necklace. I used two pearls to represent my two kids. I debated a third pearl for daddy, but my son said, "Daddy's not a kid."'Nuff said.
To make the bird's nest, I followed this awesome tutorial here.
Fun. Easy. Just my style.
Linking up with these parties today:


Jan 12, 2012

Baby Shirt Necklace Tutorial

 I am probably one of the most sentimental people you'd ever meet. I have a hard time deleting sweet emails from my hubby; I have made several baby photo albums (out of the 1,000s of pics I've taken); and I can't bare to part with many of my kids' baby clothes. 'Cuz they just hold so many memories! I'm a sucker for nostalgia.

So, just because I couldn't throw away a sweet shirt of my daughter's (even though it had some terrible, yucky stains on the chest), I decided to make it into The Baby Shirt Necklace!
 I loved the pretty embroidery and knew it had potential. 
Look, it's so easy. 
Snip, snip. Dab some glue on the pendant backing, adjust the fabric, assemble the frame. Add a necklace. Simple.

Now go enjoy your pretty piece of new jewelry!

Linking up here:
Somewhat Simple
Tatertots & Jello 
Mommy By Day...Crafter By Night
Sugar Bee Crafts 

Dec 21, 2011

Pretty Monogrammed Pendant Necklace

 A while ago, I saw these on etsy, and I thought they were really sweet, simple, and classic-looking. I also thought I could do that. I bought the supplies a while back, but hadn't worked up the nerve to do the embroidery until recently. Christmas time, right? When in need of a present, try a new craft. Erm, well, something like that.
The "P" is the first initial in my friend's son's name. And he loves this shade of blue, so I thought, Wouldn't this be a touching gift??? Well, I hope she thought so and not, Oh, great, another homemade gift! It's my first one, so I know there's room for improvement anyway. :-)

 I hope to do some more down the road. I am totally the sentimental type, so I'd love to have one with my kids' initials too.
I bought the pendant here and the chain at Joann's. It was fun to do, and I realized that even though the space to create is small, there is still plenty of room for creativity!
Linking up here:
Today's Creative Blog

Oct 30, 2011

A Triple Rosette Pin in Turquoise

Lately, I've been busy making jewelry and hair clips for a community fundraising event. 
When I handed everything over to the charity's director (so that she could pass it along to the folks organizing the raffle, silent auction, etc.), she mentioned that she loved the turquoise color of one of the necklaces (seen in this post). She also, very nonchalantly, said something like it would make a good pin and she liked pins. Now this is a woman who has done so much over the years for this particular organization and my family and I have benefited from her hard work. 
So of course I made her a pin. In turquoise. And put it on her desk a week later. I hope she liked it. :)
Linking up here:


Oct 28, 2011

Necklaces, Earrings, and Hair Ties to Donate

 So these were the "mom items" that I donated to the community fundraiser along with the little girl hair clips. I made a new grey necklace (the other one I was planning on keeping, but---long story short---I gave it away on the spot to a sweet grandmothery person who admired it and had just given me a bunch of cute clothes for my daughter through Freecycle.org. Anyway, I had to make another necklace and ended up doing two new gray ones -- one for me and one for the fundraiser. (I haven't photographed the one for myself yet, but it has 5 pom poms that are on the larger side like the poms below!)
 I did two hair ties. (Made a third one for myself and I have to say, they really do dress up a ponytail!).
 And some earrings.
 (These pictures are so dark because I took them in the early morning before packing them up in my bag to head out. Got done too late at night for anything to look half-way good. ;-)


Good-bye new gray necklace! I hope your new owner likes you!
Linking up here today:
Our Creative Spaces

Oct 15, 2011

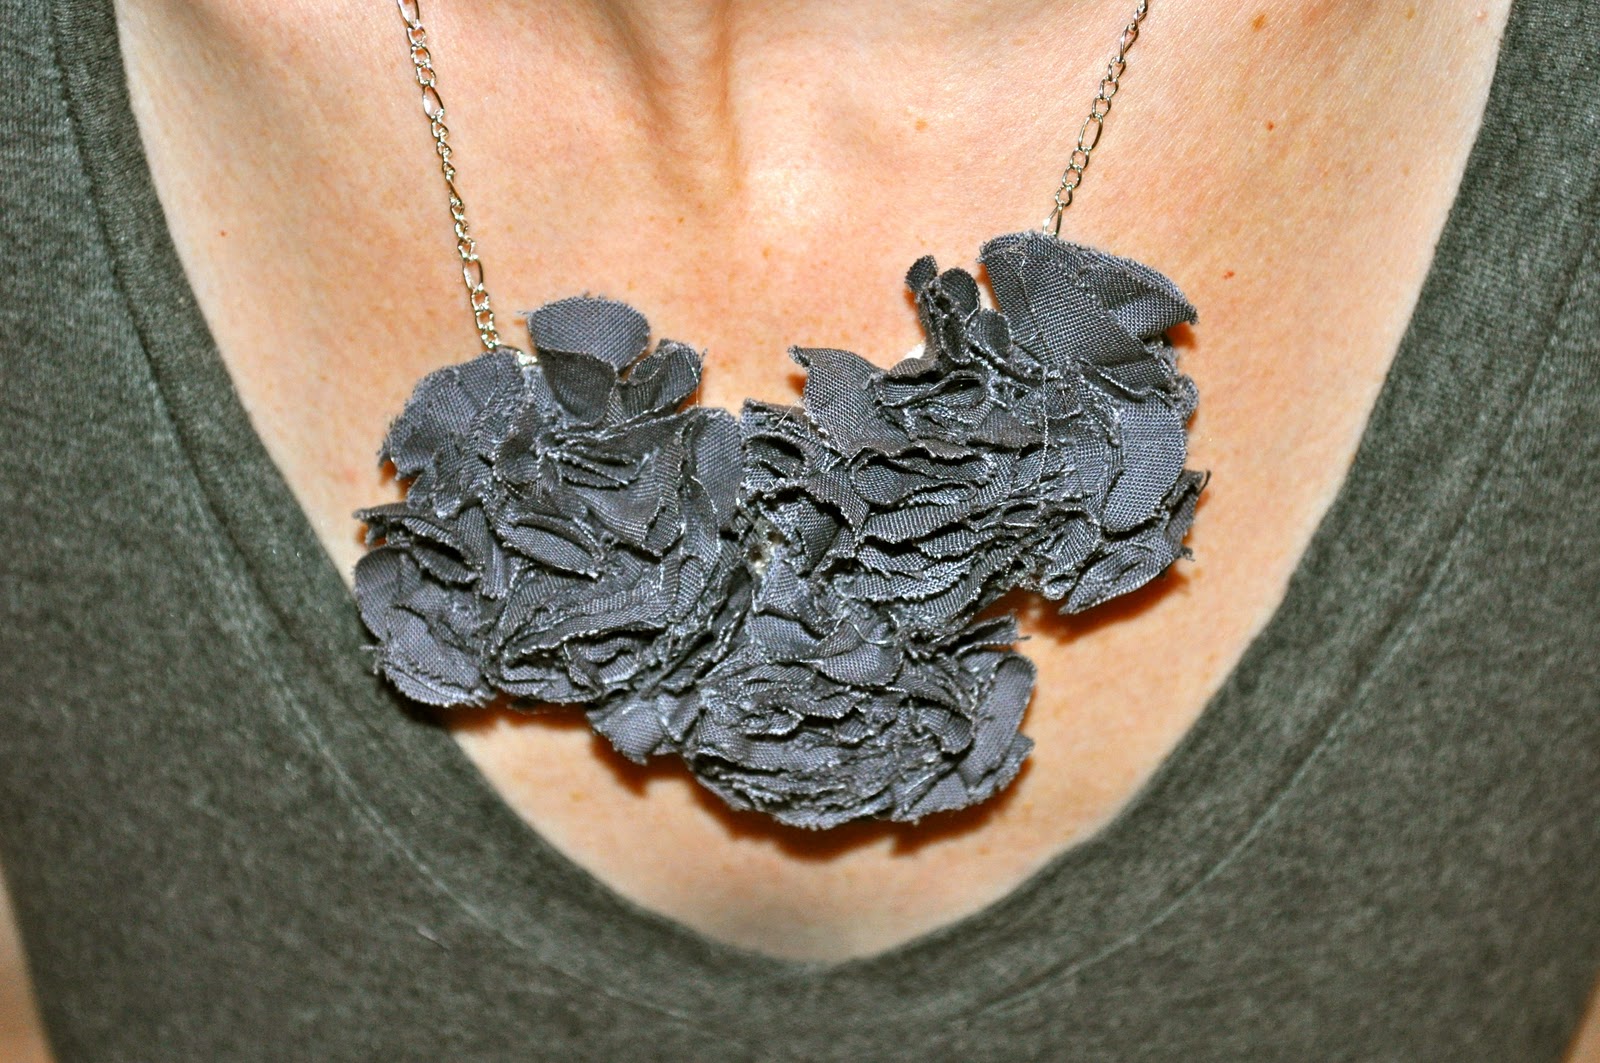
Pom Pom Bib Necklace ~ So Pretty & Easy to Do

 So this past week I volunteered to make some jewelry for a community fundraiser and decided I needed to get to work figuring out something that looked smart and pretty at the same time. I found this awesome tutorial here for a beautiful pom pom bib necklace and got busy.
 I did my chain differently than the tutorial. I bought 6' of chain, jump loops, and lobster clasps and made my own chain at a length I liked (about 8" of chain on each side). I was very proud of myself for not only locating pliers (!) to cut the chain, but for also assembling the whole thing and making it look rather good! Right after I finished, I wanted to do another one. So I did.
 Not sure yet which necklace(s) I'm donating yet (I'm sort of in love with the gray one and want to keep it), but I know I'm going to be making some more in the next few days to try out some other fabrics and colors. Fun and easy. And aren't they pretty??
Linking up here today: 
 
Our Creative Spaces

Oct 3, 2011

Fabric Button Earrings!

Have you seen these fabric button earrings around the crafty blogosphere? They seem to be popping up everywhere, so I decided I needed to learn how to make them. They're so cute!
Basically, there's a fabric button kit you can buy and you just follow the directions on the back of the package. The only tricky part with earrings is that you have to snap off the hook (which is where you would loop the thread if it were to stay a button) with some pliers. Then you have a flat surface to adhere the earring backs.
And before you know it --voila!--you're done! So easy, and these cute earrings make perfect gifts.
Linking up here today:

Sep 6, 2011

Rosettes and Fabric Jewelry Fun

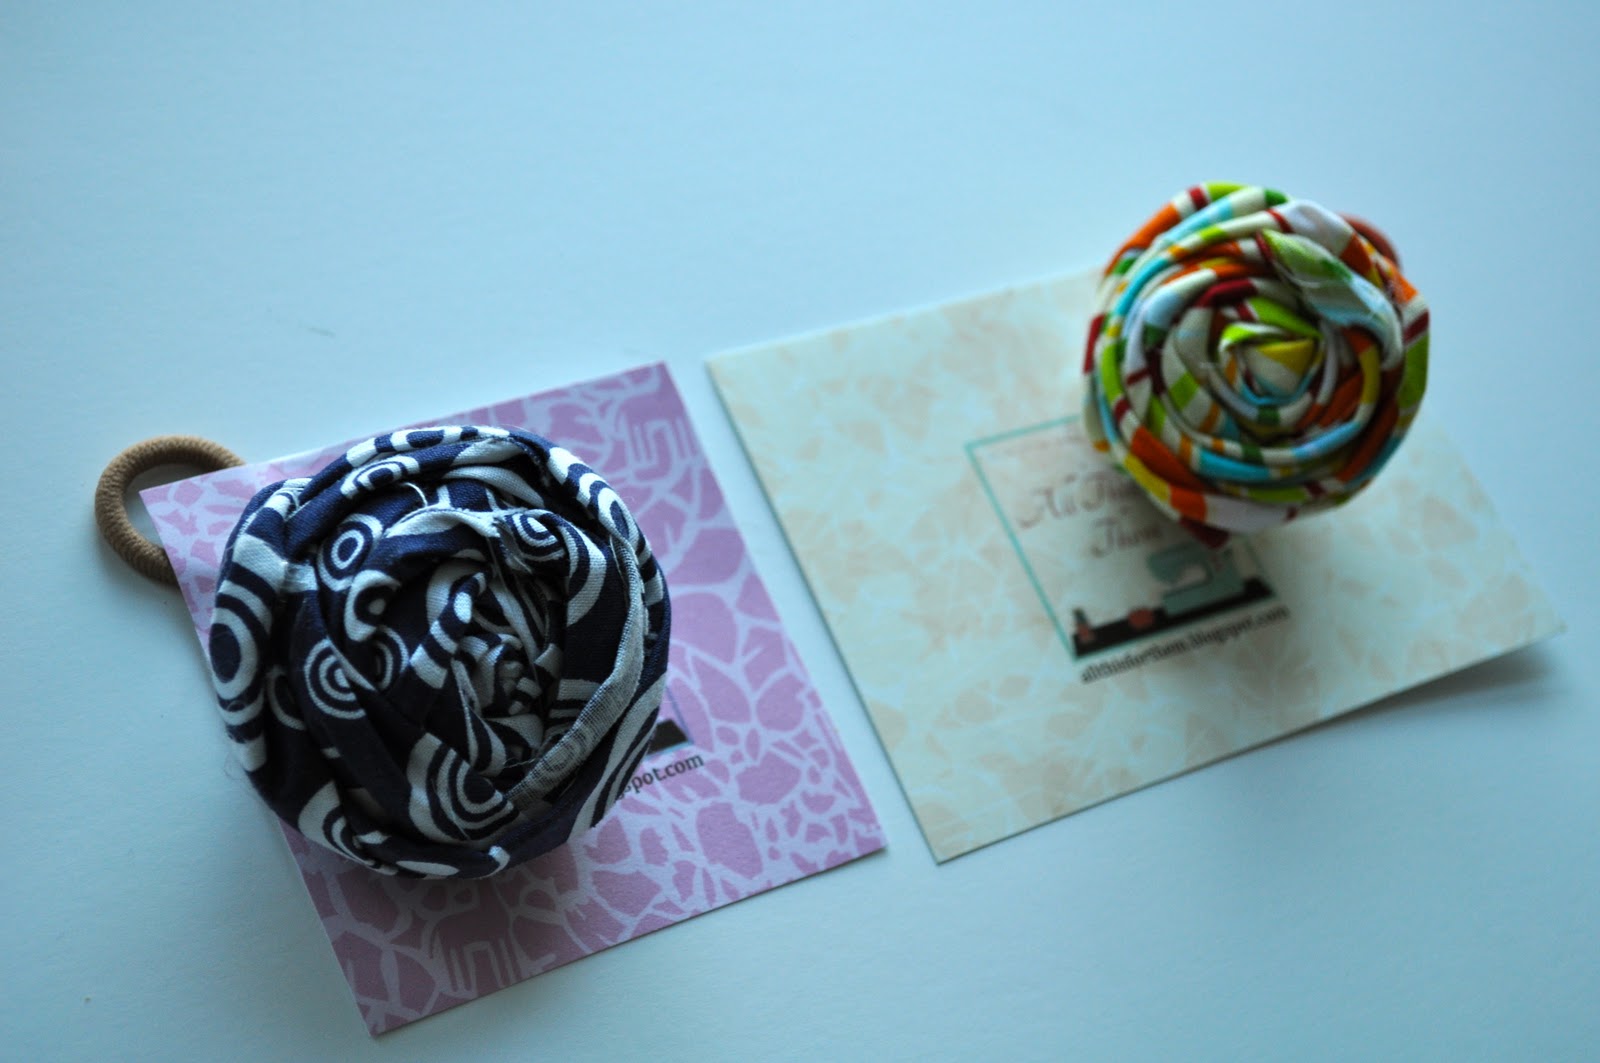
I started something new a week or so ago. I started fooling around with fabric rosettes and you know what - it got a little addicting. (I was going to show you the table full of rosettes, but then decided maybe I shouldn't? hehe) Anyway, they're easy to do and you get some pretty fast gratification from making them.
My challenge was how to attach them to a necklace. I ended up hot-gluing some ribbon loops on the back.
This set actually stands up (rather than lies flat) and doesn't work so well on a chain. So I'm wrapping the rosettes differently this week (more on that in a future post!). The trick however--and I'll tell you this now--is if you want flat rosettes, you have to keep your finger and thumb on the top and bottom of the rosette as you wrap with your other hand (this way the fabric stays squished in place and doesn't bubble up).
I also started experimenting with these little fabric flowers, made out of circles (traced with a shot glass). Also, pretty addicting!
I made this one into a hair clip and it looks really cute in my daughter's hair! But guess what. I put it on her and before I could take a picture, she lost it. I am sure it's somewhere in my house, but where I do not know!

 By the way, the fabric in the hair clip is from this vintage sheet. Love it!
Linking up here today:
Fresh Poppy Design